
How to Change a Tire Safely: 9-Step Roadside Guide (2026)
How to Change a Tire Safely: A Step-by-Step Roadside Guide for Drivers
Key takeaway: Changing a flat tire takes about 20 minutes. Park on flat ground, chock the wheel opposite the flat, loosen the lug nuts while the car is still on the ground, jack from the reinforced pinch-weld point, swap in the spare, tighten the nuts in a star pattern, then recheck the torque after 50 to 100 miles.
Feeling your steering wheel pull toward the shoulder after a puncture can stress any driver. Learning how to change a tire ahead of time turns a roadside breakdown into a calm twenty-minute task. While modern cars feature sensors and apps covered in our USABite practical technology and everyday guides, hands-on mechanical readiness remains essential when cell signals drop or tow trucks face long delays.
Per the National Highway Traffic Safety Administration (NHTSA), Tire Pressure Monitoring Systems (TPMS) only warn you once pressure drops 25 percent below cold placard specs. Following the proper roadside sequence protects both your personal safety and your vehicle’s wheel studs, brake rotors, and suspension.
Essential Tools and Roadside Safety Preparation
Your first priority is moving away from traffic and stabilizing the car. AAA Automotive advises coasting gently to a flat, solid, well-lit straightaway or parking lot rather than stopping on a blind curve or soft shoulder, as driving far on a deflated tire ruins the sidewall and rim.
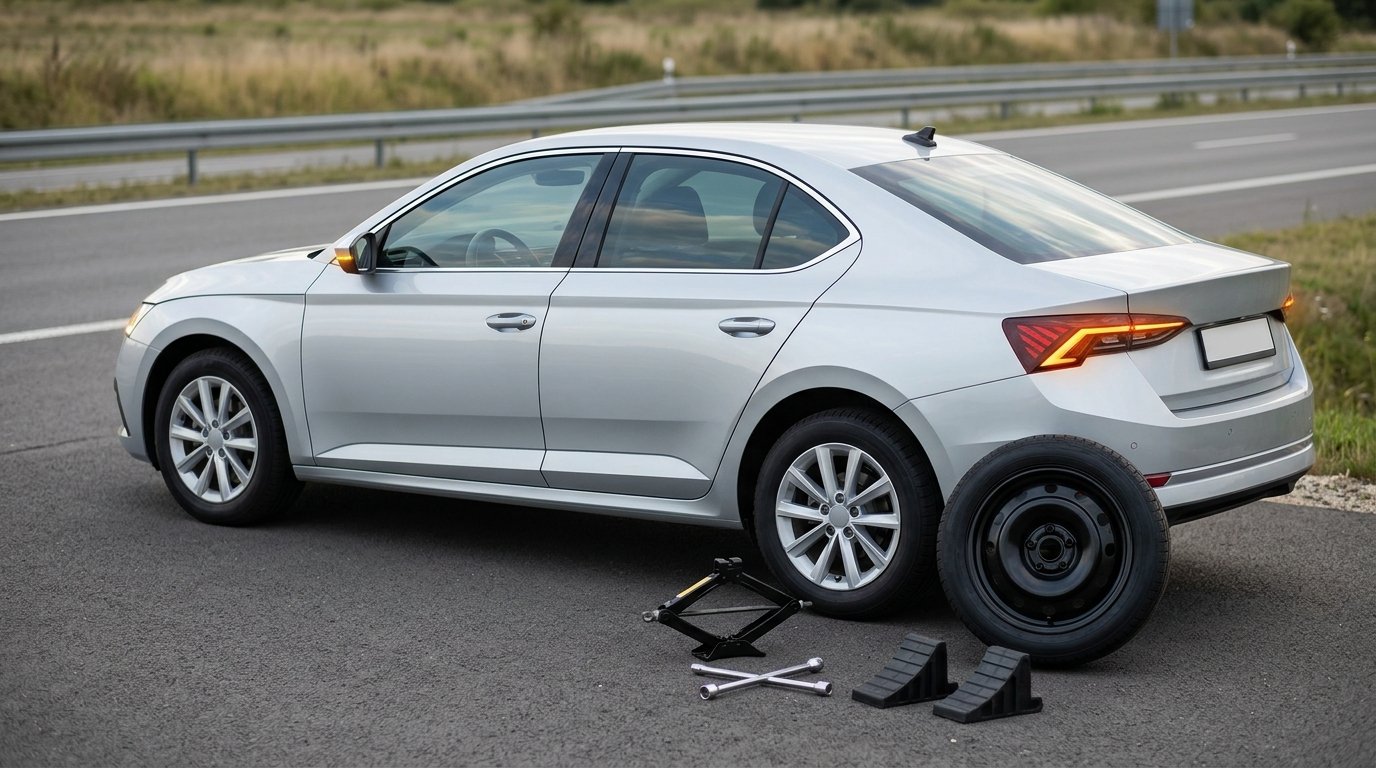
Park on level pavement, switch on your hazard lights, shift into Park (or Reverse for manual transmissions), and set the parking brake. Move passengers behind a guardrail and gather your core tools:
- Inflated Spare Tire: Sedans usually store a compact “donut” spare under the trunk mat, while SUVs and trucks often carry a full-size spare beneath the rear frame.
- Vehicle-Rated Car Jack: A steel scissor jack or hydraulic jack matched to your car’s weight and lifting notch.
- Lug Wrench (Tire Iron): An L-shaped factory wrench or four-way cross wrench sized to your lug nuts.
- Locking Lug Nut Key: As noted by BFGoodrich maintenance specialists, alloy wheels often use one anti-theft splined lug nut requiring a matching key adapter stored in the glove box or trunk well.
- Wheel Chocks, Gloves, and Wood Board: Michelin USA suggests keeping work gloves, a trash bag for the dirty tire, and a flat wooden board to support the jack base on soft ground.
How to Change a Flat Tire in 9 Step-by-Step Stages
Step 1: Chock the Opposite Wheels and Set Warning Markers
Wedge wheel chocks, bricks, or wooden blocks against the tire diagonally opposite the flat (for a rear-right flat, block the front-left wheel). On busy roads, Good Sam Roadside guidelines advise setting reflective triangles 100 to 300 feet behind your bumper.
Step 2: Remove the Hubcap and Loosen Lug Nuts on the Ground
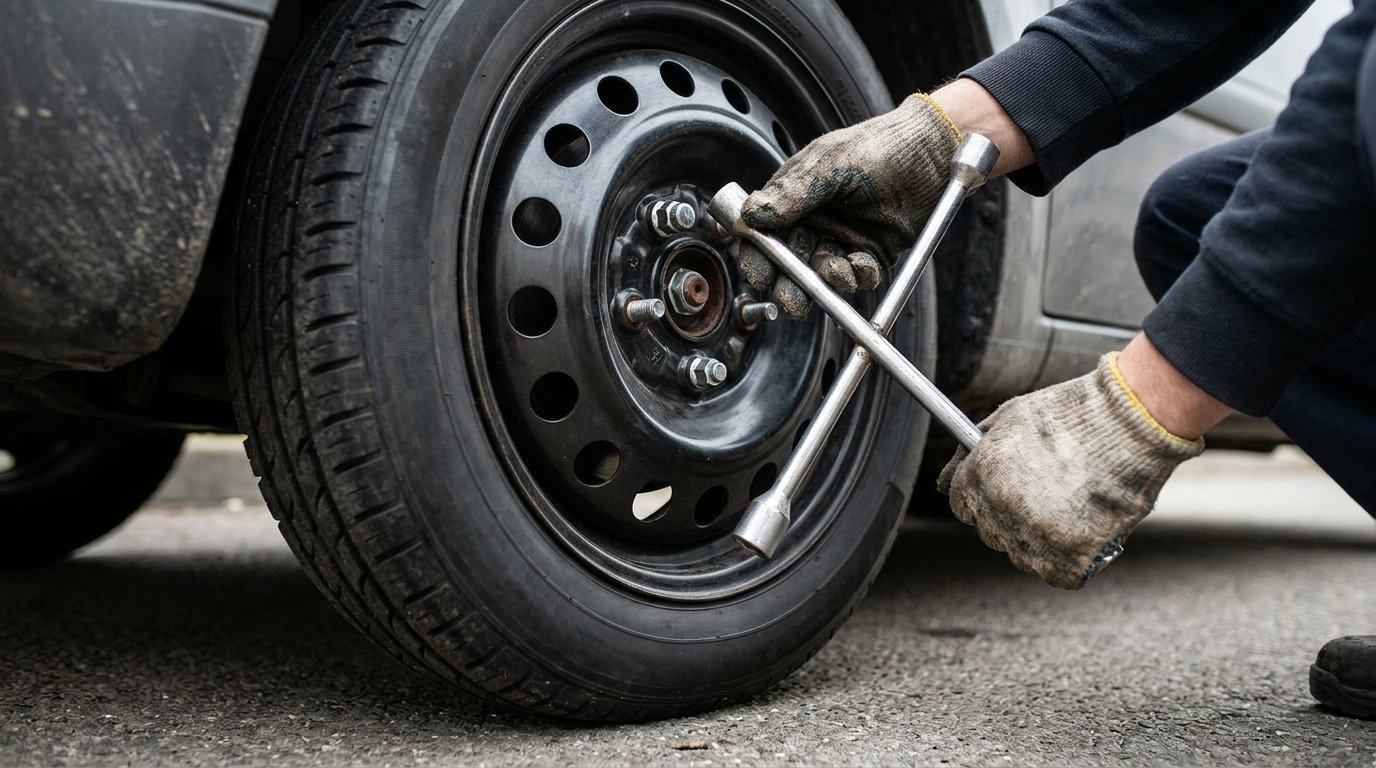
Never lift the car before breaking lug nut resistance. Pry off any hubcap and turn each lug nut counterclockwise one-quarter to one-half turn with your wrench while the car’s weight holds the tire still on the pavement.
Step 3: Locate the Reinforced Pinch-Weld Jacking Point
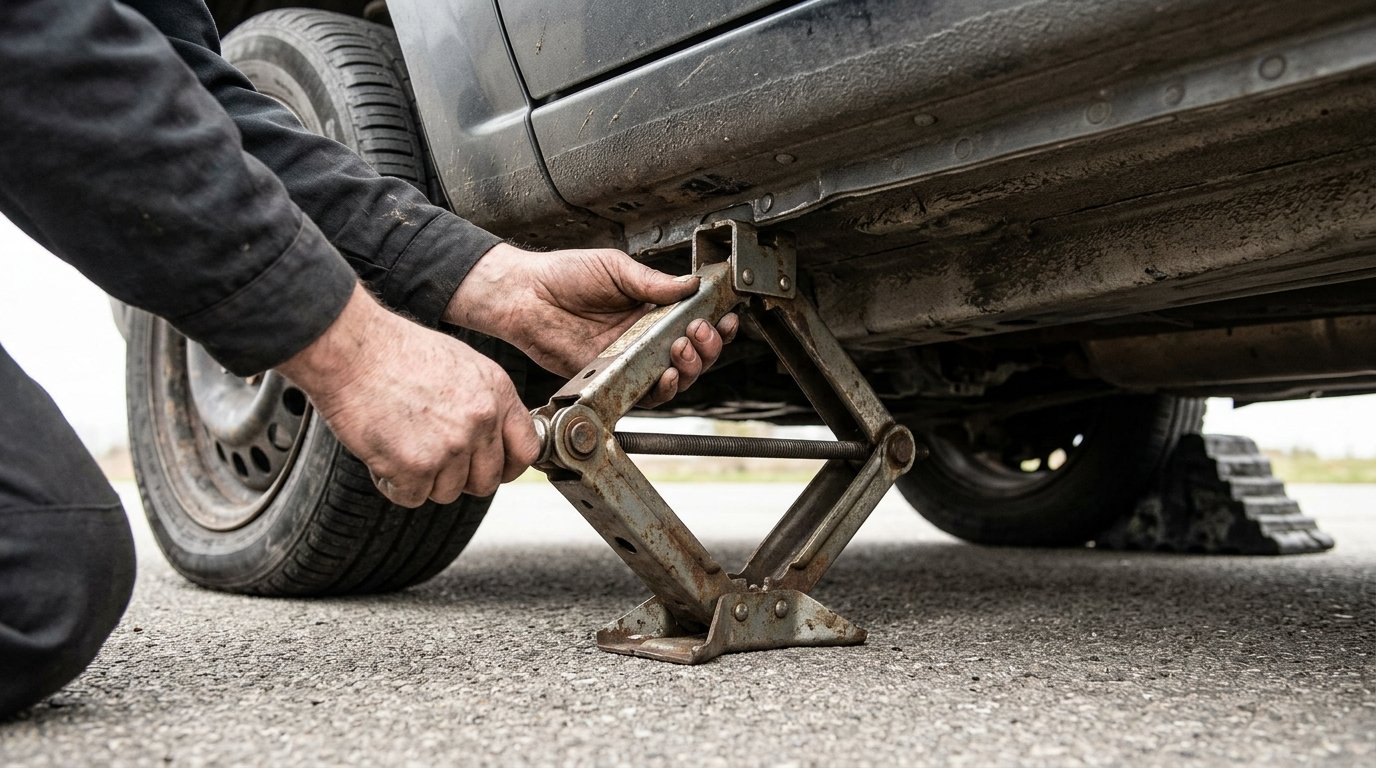
Most unibody cars have four reinforced metal pinch-weld notches along the rocker panels—two behind the front wheels and two ahead of the rear wheels. Check your owner’s manual for the exact lifting spot nearest the flat tire so you never jack against plastic molding or thin floor pans.
Step 4: Lift the Vehicle 6 Inches Off the Ground
Crank the jack handle clockwise smoothly, making sure the base stays flat and vertical. Raise the car until the flat tire sits roughly 6 inches off the pavement, giving enough clearance for the taller inflated spare. Never put any part of your body under a car supported only by a jack.
Step 5: Unscrew the Lug Nuts and Remove the Flat Wheel
Spin the loosened lug nuts completely off by hand and place them in the upturned hubcap. Grip the flat tire with both hands, pull it straight off the threaded wheel studs, and lay it flat on its side so it cannot roll away.
Step 6: Align and Mount the Spare Tire
Lift the spare tire with the air valve stem facing outward toward you. Align the rim holes with the wheel studs and push the wheel flush against the rotor hub.
Step 7: Hand-Tighten the Lug Nuts in a Star Pattern
Thread every lug nut by hand with the tapered end facing inward so the threads do not strip. Then snug them lightly in a crisscross or star pattern—jumping to the bolt directly across the hub rather than moving in a circle—as advised by Allstate’s roadside guide to seat the wheel evenly.
Step 8: Lower the Car and Torque the Lug Nuts Fully
Turn the jack handle counterclockwise to lower the car until the spare tire rests on the ground, then remove the jack. Pull firmly on your lug wrench in the same 5-lug star sequence (or cross pattern on 4-lug and 6-lug hubs) to tighten every nut securely while the ground holds the tire still.
Step 9: Check Tire Pressure, Stow Tools, and Recheck Torque
Verify the spare’s cold PSI before driving, stow your flat tire and tools, and have a shop torque the lugs to 80–100 lb-ft and recheck after 50 to 100 miles.
Compact Donut Spare vs. Full-Size Spare Tire Limits
Temporary space-saver tires require higher inflation pressure and stricter speed limits than regular tires:
| Specification | Compact Temporary “Donut” Spare | Full-Size Matching Spare Tire |
|---|---|---|
| Cold Tire PSI | Typically 60 PSI (check sidewall) | 30–35 PSI (match doorjamb label) |
| Max Safe Speed | Under 50 MPH (80 km/h) | Normal highway speeds |
| Max Distance | 50 to 70 miles (to repair shop) | Full tread lifespan |
| Braking & Grip | Longer stopping distance, reduced grip | Normal braking and traction |
Common Tire Change Mistakes to Avoid
- Forcing Stuck Lug Nuts While Lifted: Pulling hard on a wrench while the car is on a jack can tip the jack over. Always break tight nuts loose on the ground.
- Ignoring Spare Tire Pressure: Tires lose about 1 PSI per month and 1 PSI per 10°F temperature drop; check your spare monthly.
- Standing on the Wrench: Kicking the wrench stretches wheel studs and warps brake rotors.
Frequently Asked Questions (FAQs)
Which way do you turn lug nuts to loosen them?
Turn the wrench counterclockwise (“lefty-loosey”) to loosen lug nuts and clockwise (“righty-tighty”) to tighten them.
Can I change a flat tire on a hill or without a jack?
Never lift a car on a slope or with makeshift blocks where it can slip off the jack. Stay buckled inside with hazard lights on and call roadside assistance.
Can a punctured flat tire be repaired instead of replaced?
If a nail puncture is in the central tread, measures under 1/4 inch (6 mm), and was not driven on while flat, a shop can usually patch and plug it safely.