
How to Fix a Running Toilet: Step-by-Step DIY Repair Guide
Key takeaway: To fix a running toilet, check three cheap parts in order: the flapper chain slack, the flapper seal, and the fill valve float. Most running toilets are fixed in about 15 minutes with no plumber — and a running toilet can waste roughly 200 gallons of water a day, so finding the cause fast matters.
Few household noises are more frustrating than a toilet that keeps hissing, trickling, or refilling long after you flush. According to the U.S. Environmental Protection Agency (EPA) WaterSense program, a single running toilet can waste roughly 200 gallons of water every day, while toilets account for 25% to 30% of household indoor water use. Left unchecked, a worn seal or high float can add thousands of gallons to your utility bill or overload a home septic drainfield.
Fortunately, learning how to fix a running toilet rarely requires a plumber or specialized tools. As The Home Depot’s plumbing repair guide notes, the water inside the tank is clean municipal supply water that has not yet entered the bowl. Most running toilets come down to three inexpensive parts: an out-of-adjustment lift chain, a warped rubber flapper, or a faulty fill valve float. At USABite, our step-by-step guides break down practical household repairs so you can diagnose the exact cause in five minutes and stop the constant water flow.
Why Does My Toilet Keep Running? (5-Minute Diagnosis)
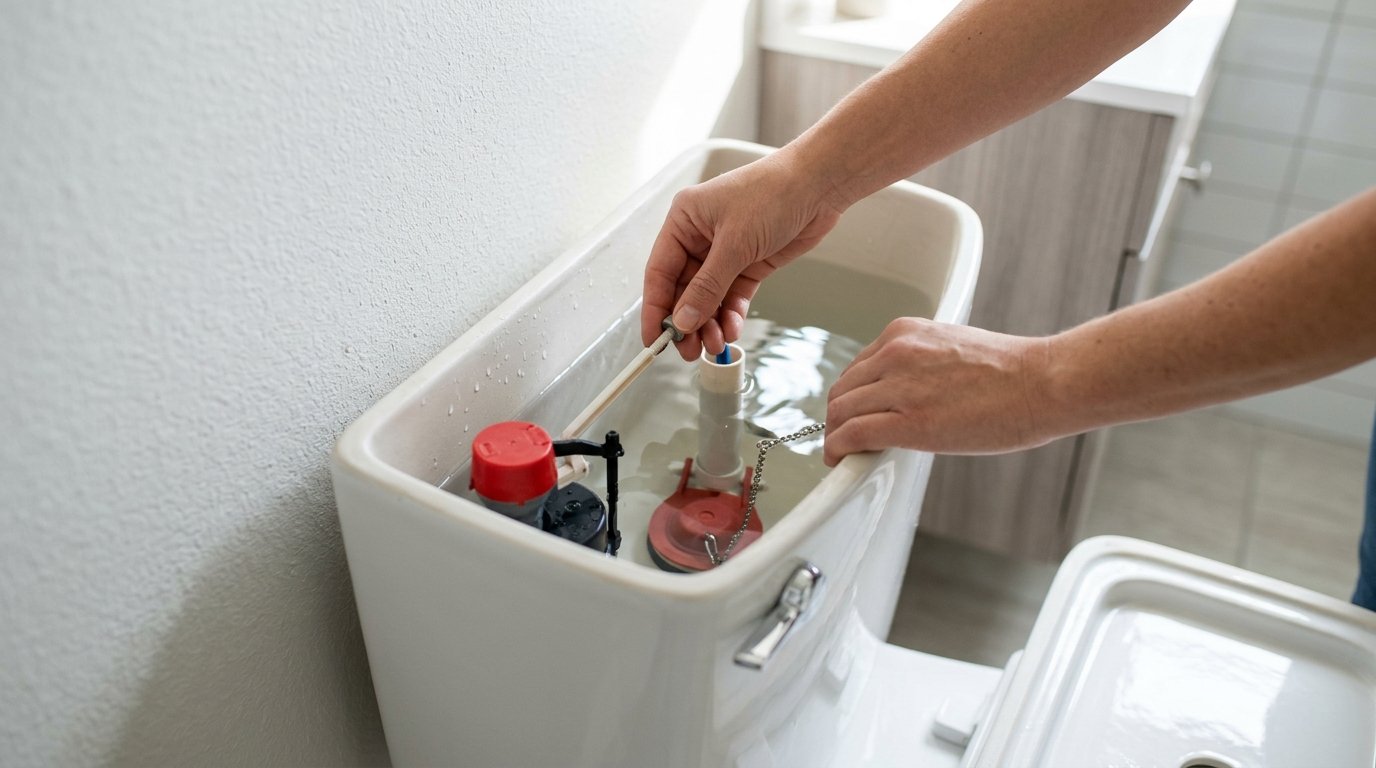
Before buying parts, lift the porcelain tank lid and set it flat on a bath towel so it cannot chip. Flush the toilet once and watch the internal mechanisms as the tank refills. As KOHLER’s troubleshooting guide explains, every symptom points to either the flush side (which seals water in the tank) or the fill side (which shuts off incoming water).
| Running Toilet Symptom | Primary Tank Culprit | DIY Fix & Time |
|---|---|---|
| Phantom flushes (refills briefly by itself every 15–30 minutes) | Warped or mineral-crusted rubber toilet flapper seal (The Home Depot) | 10 mins: Wipe the valve seat or install a 2-inch or 3-inch flapper. |
| Water rushes into the bowl until you jiggle the handle | Tangled or overly tight flapper lift chain (American Home Shield) | 3 mins: Re-clip the chain so it rests with 1/2 inch of slack. |
| Water spills over the top of the center overflow pipe | Float cup or ball set too high (KOHLER) | 5 mins: Lower the float screw or clip until water stops 1 inch below the rim. |
| Continuous hissing even when lifting the float arm by hand | Sediment under the fill valve cap or worn valve seal (Kohler Assist) | 15 mins: Flush debris from the fill valve cap or replace the fill valve. |
To check for silent leaks, use the food coloring test recommended by the EPA WaterSense Leak Detective guide and Business Insider. Add four drops of food coloring to the tank and wait 10 to 30 minutes without flushing. If tinted water appears in the bowl, your flapper is leaking.
Step 1: Inspect and Adjust the Flapper Chain
The fastest fix costs nothing: checking the chain connecting the flush handle lever to the rubber flapper. According to American Home Shield, a chain pulled too tight holds the flapper slightly open, while a loose chain can slip underneath the flapper rim and block the seal.
- Set 1/2 inch of slack: With the handle at rest, leave roughly 1/2 inch of slack in the chain (KOHLER) so the flapper sits completely flat.
- Align the lever hole: Hook the clip onto the hole directly above the flapper so it lifts straight up without binding.
- Trim extra links: Shorten or loop dangling chain links so they cannot wash under the flapper seat.
Step 2: Clean or Replace a Worn Toilet Flapper
If pressing down firmly on the rubber flapper stops the sound of running water, the flapper is no longer sealing. Over time, water minerals and chlorine cause rubber flappers to warp or stiffen, as noted by Lowe’s plumbing repair guide.
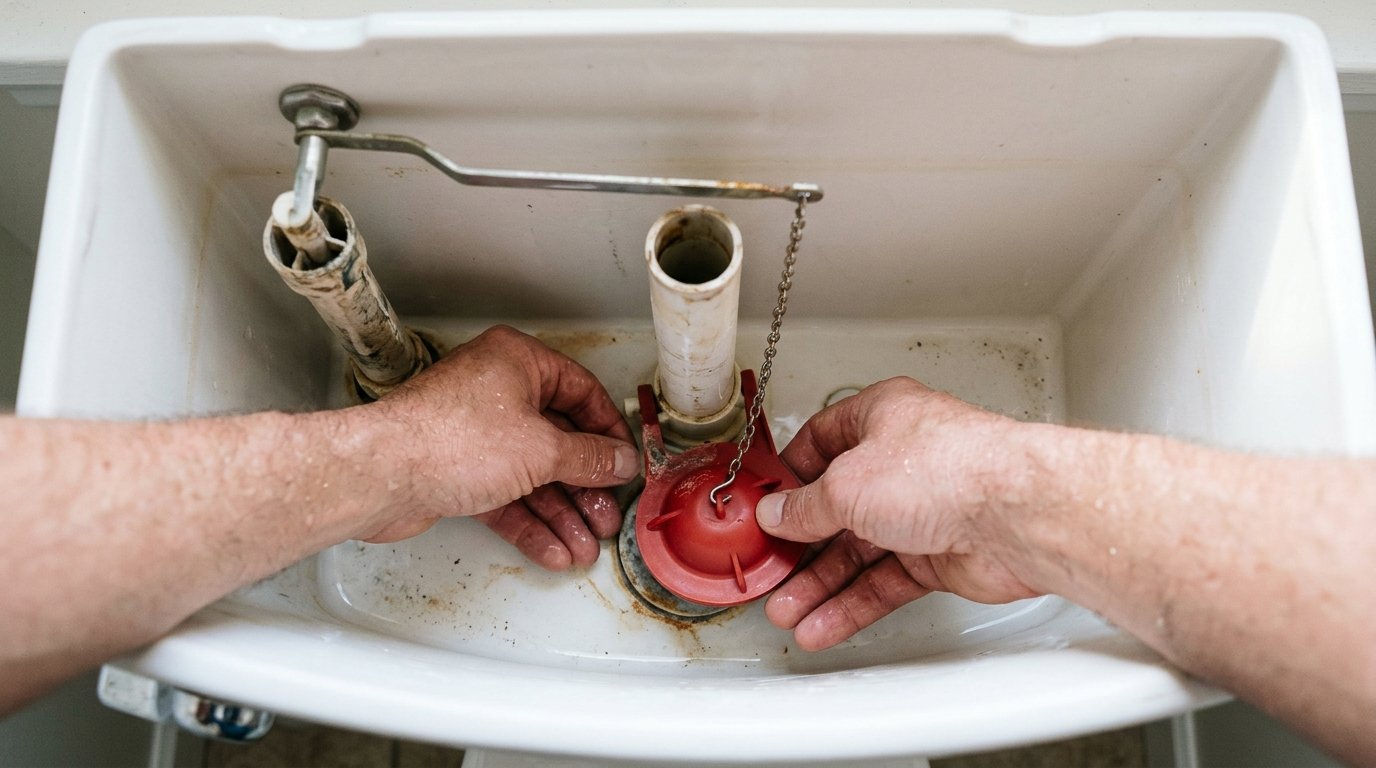
- Shut off the water: Turn the wall shutoff valve clockwise until it stops, then flush to drain the tank.
- Remove the old flapper: Unclip the chain and slide the flapper ears off the two plastic pegs at the base of the overflow tube (Fountain Plumbing).
- Clean the valve seat: Wipe the plastic rim under the flapper with white vinegar. This Old House notes that mineral grit on this seat will make even a new flapper leak.
- Install the new flapper: Snap a matching 2-inch or 3-inch flapper onto the pegs, attach the chain with 1/2 inch of slack, turn the water back on, and test-flush.
Step 3: Lower the Water Level by Adjusting the Float
When the flapper seals tightly but water keeps trickling into the hollow center pipe, your water level is too high. That vertical pipe is the overflow tube. Both KOHLER and DoItYourself.com specify that tank water should stop rising about 1 inch below the top of the overflow tube.
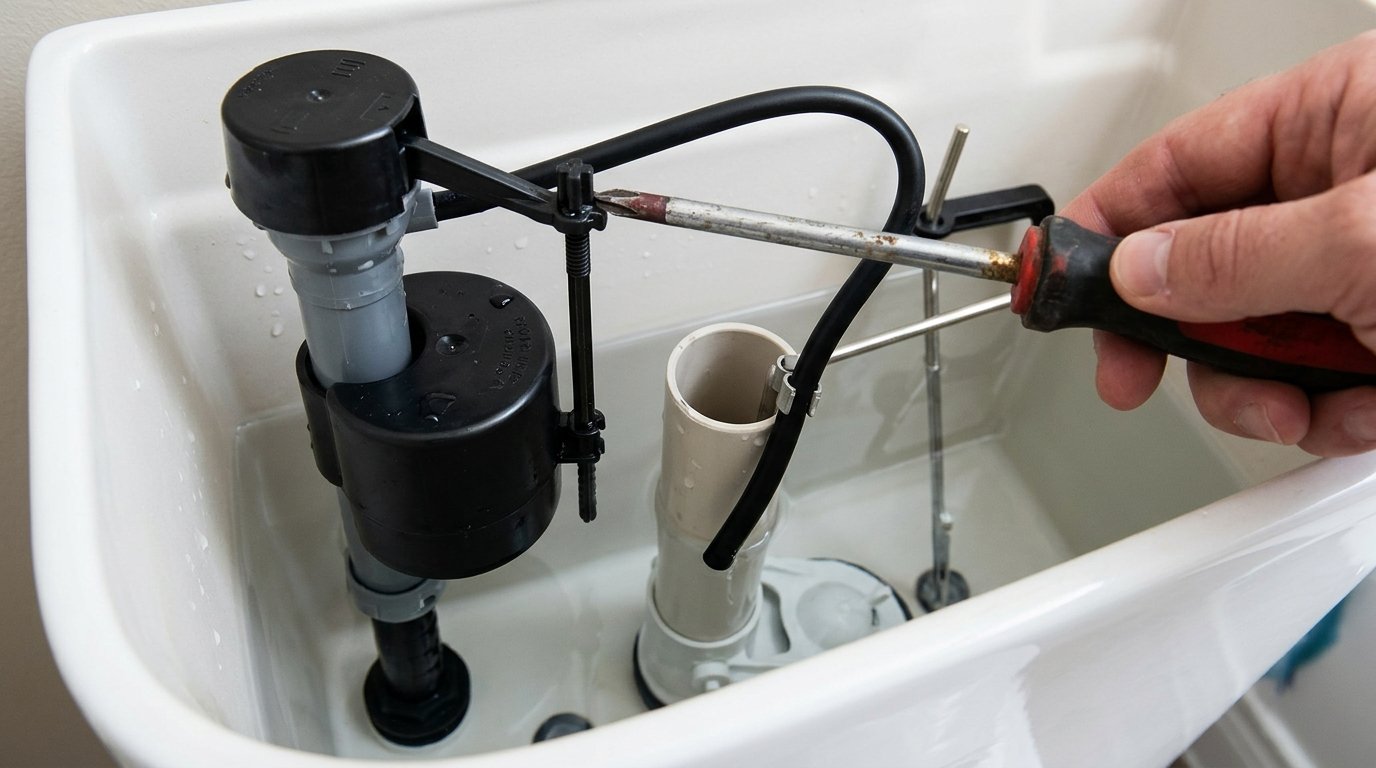
- Cylinder Float Cups: Pinch the spring clip on the adjustment rod or turn the Phillips screw counterclockwise (Business Insider) to slide the float cup lower.
- Ball and Arm Floats: Turn the top adjustment screw on the float arm to angle the ball downward so it shuts off earlier.
- Check the Refill Tube Clip: Ensure the thin vinyl refill hose is clipped 1/2 inch above the overflow pipe opening (KOHLER). Pushing it deep inside the pipe siphons water out of the tank continuously.
Step 4: Clean or Replace a Faulty Fill Valve
If lifting the float arm by hand does not stop the fill valve from hissing, pipe sediment is likely trapped inside the valve cap (Kohler Assist). Shut off the water supply, twist the top plastic cap of the fill valve a quarter-turn counterclockwise, and rinse the filter screen. Cup your hand over the uncapped valve stem, crack the wall valve open for two seconds to flush out debris, shut the water off, and snap the cap back on.
If the fill valve is over seven years old (JM Plumbing Services) or still leaks, replace it with a universal fill valve (Fluidmaster). Sponge out the empty tank, unscrew the supply coupling and plastic locknut underneath the tank, insert the new valve with its rubber washer, and hand-tighten the locknut.
Simple Maintenance Tips to Prevent Future Leaks
Avoid drop-in chlorine or bleach tank tablets, as This Old House warns that concentrated bleach warps rubber flappers within months; clean the tank twice a year with white vinegar instead. If your toilet dates before 1994 and uses 3.5+ gallons per flush, upgrading to a 1.28-gallon EPA WaterSense model can cut toilet water use by up to 60%. For more practical guides, visit USABite.com or reach out via our USABite Contact Page.
Frequently Asked Questions
Why does my toilet keep running after I flush?
The most common causes are a tangled or misadjusted flapper chain, a worn flapper that no longer seals, or a fill valve float set too high. Lift the tank lid and watch: if water trickles into the bowl, the flapper is leaking; if water flows into the overflow tube, the water level is too high.
How do I know if the flapper is leaking?
Add a few drops of food coloring to the tank and wait 10 to 30 minutes without flushing. If color shows up in the bowl, water is leaking past the flapper, and it needs cleaning or replacing.
How much water does a running toilet waste?
A running toilet can waste roughly 200 gallons of water a day, according to the EPA’s WaterSense program. Left unchecked, that can add thousands of gallons to a utility bill or overload a home septic drainfield.
Should I repair or replace the fill valve?
Try adjusting the float first so the water sits about 1 inch below the overflow tube. If the valve is over seven years old or still leaks after adjustment, replace it with a universal fill valve.
Can I fix a running toilet without a plumber?
Yes. Most running toilets are fixed in about 15 minutes with basic tools. The water in the tank is clean supply water, and the three usual fixes — chain, flapper, and fill valve — are all do-it-yourself jobs.